| Command | Description |
|---|---|
| CTRL + A | Move to the start of the line. |
| CTRL + E | Move to the end of the line. |
| CTRL + B | Move back one character. |
| CTRL + F | Move forward one character. |
| CTRL + D | Delete one character after cursor. |
| CTRL + H | Delete one character after cursor. |
| CTRL + U | Delete from the cursor to the beginning of the line. |
| CTRL + K | Delete from the cursor to the end of the line. |
| CTRL + W | Delete from the cursor to the start of the word. |
| !! | Execute last command in history. |
| !n | Execute nth command in history. |
| !$ | Last argument of last command. |
| !^ | First argument of last command. |
Linux
Modify File Permissions with Linux chmod command (Ownership and Permissions)
Following are the symbolic representation of three different roles:
- u is for user
- g is for group
- o is for others
- a is for all
Following are the symbolic representation of three different permissions:
- r is for read permission
- w is for write permission
- x is for execute permission
This is called octal notation because the binary numbers are converted to base-8 by using the digits 0 to 7:
- 7, rwx, read, write, and execute
- 6, rw-, read and write
- 5, r-x, read and execute
- 4, r–, read only
- 3, -wx, write and execute
- 2, -w-, write only
- 1, –x, execute only
- 0, —, none
The format of a chmod command
chmod [who][+,-,=][permissions] filename
There are two ways to give permissions.
Here is the equivalent command using octal permissions notation.
chmod 754 file.txt
This example uses symbolic permissions notation.
chmod u=rwx,g=rx,o=r file.txt
a+x is same as +x
chmod -R +w,g=rw,o-rw, ~/group-project-files/
Copying permissions
The parameter g=u means grant group permissions to be same as the user’s.
chmod g=u ~/myFile.txt
Making a File Executable
chmod +x ~/group-project.py
Add single permission to a file/directory
chmod u+x filename
Add multiple permission to a file/directory
chmod u+r,g+x filename
Remove permission from a file/directory
chmod u-rx filename
Change permission for all roles on a file/directory
Following code assigns execute privilege to user, group and others (basically anybody can execute this file).
chmod a+x filename
Make permission for a file same as another file (using reference)
file2’s permission will be set exactly same as file1’s permission.
chmod –reference=file1 file2
Apply the permission to all the files under a directory recursively
chmod -R 755 directory-name/
Change execute permission only on the directories (files are not affected)
chmod u+X *
How To Use SSH to Connect to a Remote Server in Ubuntu
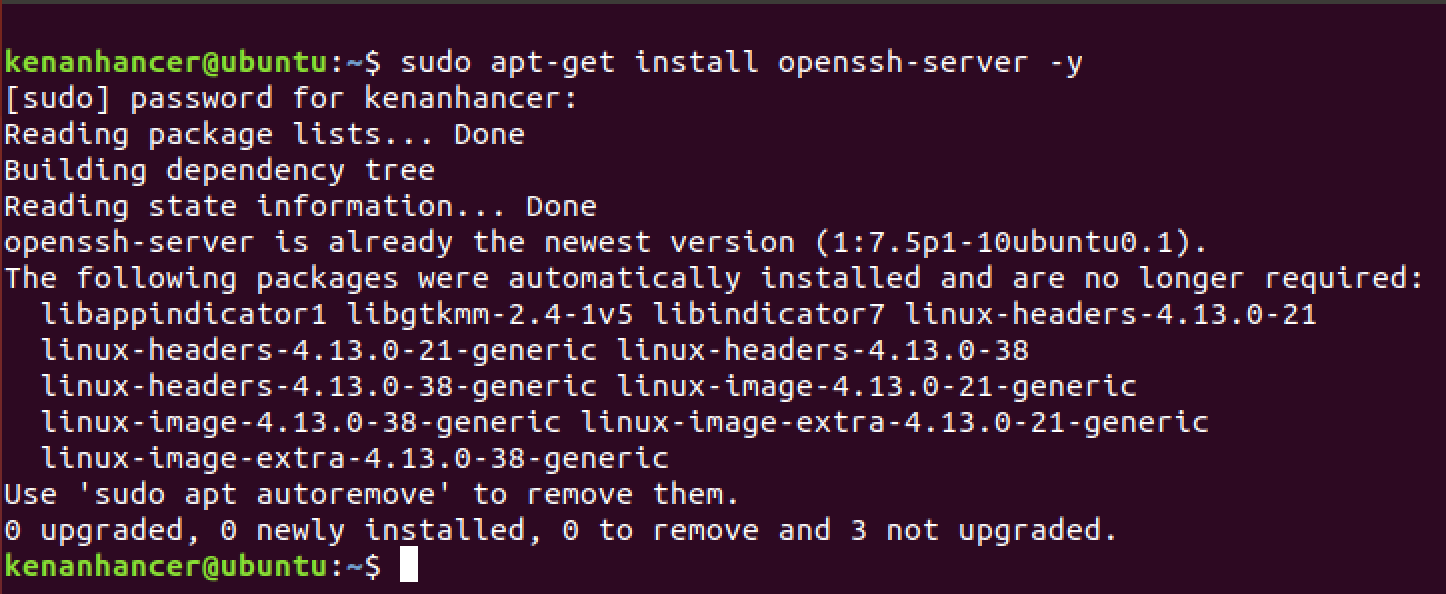
Enable SSH in Ubuntu Server
Install it by running the following command in your Ubuntu terminal.
sudo apt-get install openssh-server -y
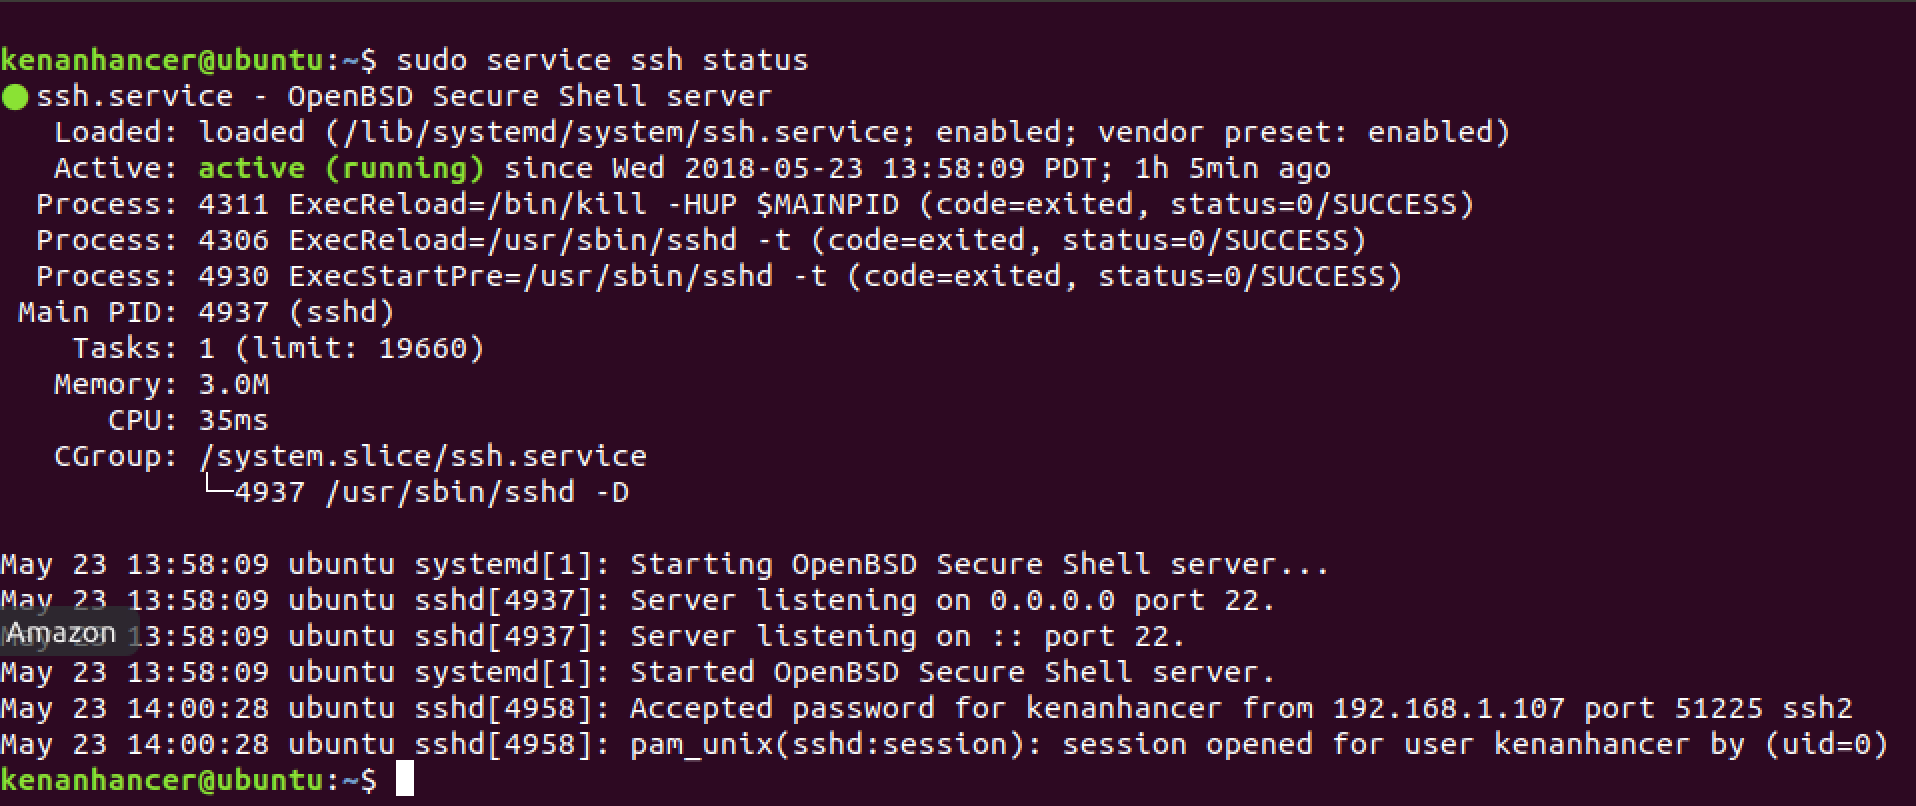
Check SSH Status
sudo service ssh status
Configure SSH in Ubuntu Server
Configure SSH by running the following command in Ubuntu terminal.
sudo nano /etc/ssh/sshd_config
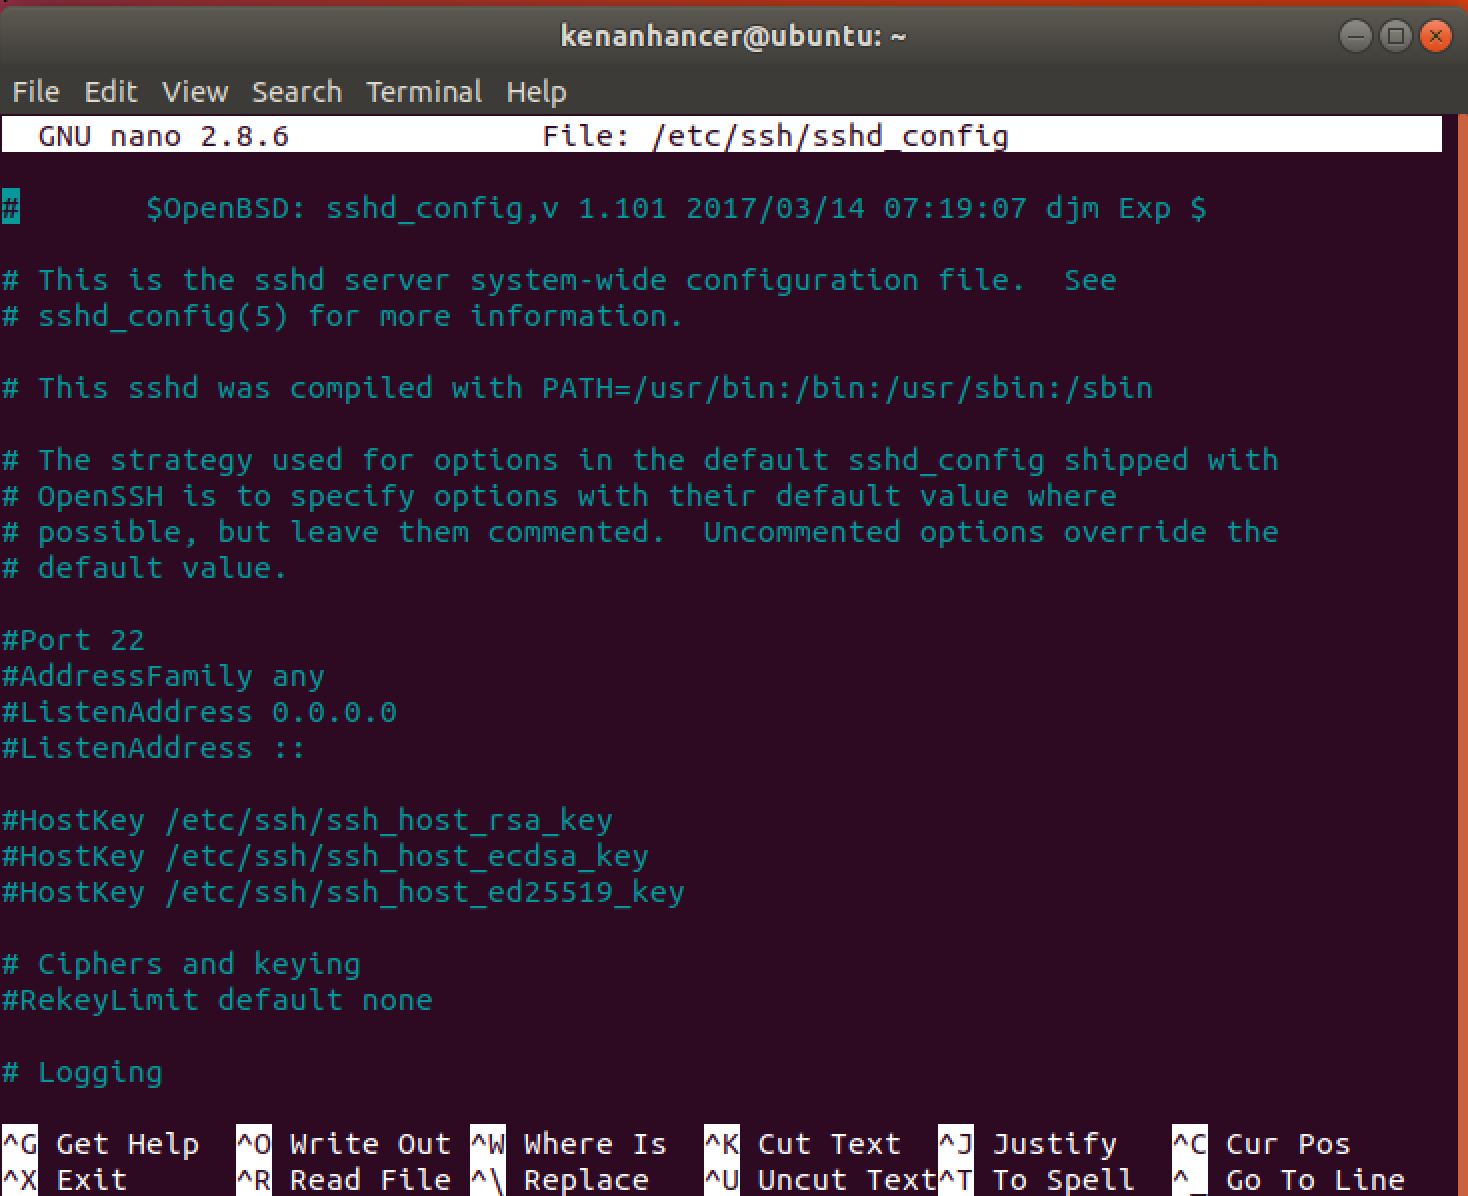
When you open the file, find and change the following item(default port)
# Port 22
to
Port 22
Restart SSH in Ubuntu Server
Apply the changes by restarting SSH.
sudo service ssh restart

Create SSH Keys
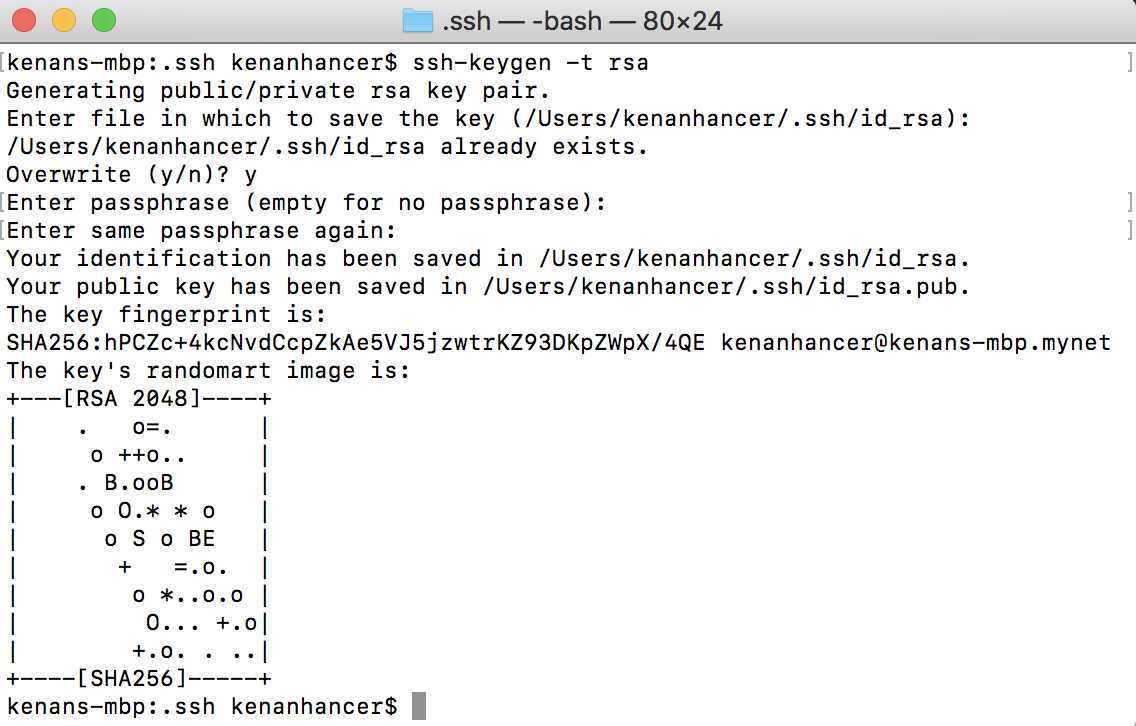
SSH keys allow authentication between two hosts without the need of a password. SSH key authentication uses two keys, a private key and a public key. The first step is to create a key pair on the client machine
ssh-keygen -t rsa
Copy the public key to the remote server
There are 3 ways to copy your public key to remote server(Ubuntu etc.).
Copy public key using ssh-copy-id
To copy public key to remote computer run the following command in local computer.
ssh-copy-id username@remote_host
Copy public key using ssh
ssh kenanhancer
ssh kenanhancer@192.168.1.14
ssh username@remote_host -p port

Copy public key manually
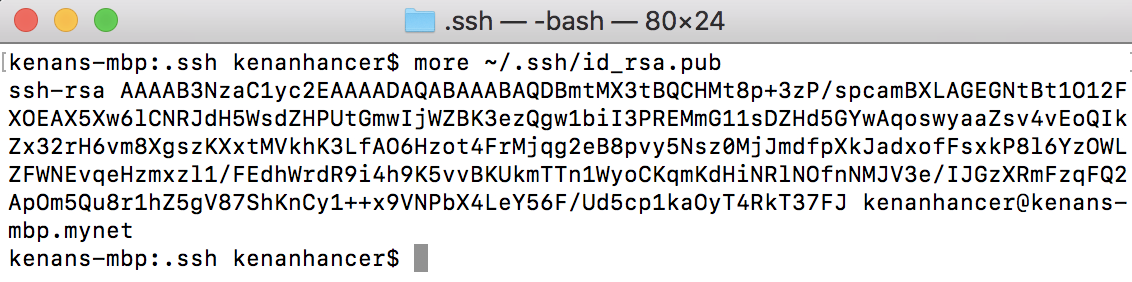
To display the content of your id_rsa.pub key, type this into your local computer.
cat ~/.ssh/id_rsa.pub
chmod 600 ~/.ssh/id_rsa

Connect to Remote computer
you should make sure the ~/.ssh directory exists. This command will create the directory if necessary, or do nothing if it already exists.
mkdir -p ~/.ssh
Copy public_key_string from local computer and paste instead of public_key_string in remote computer.
echo public_key_string >> ~/.ssh/authorized_keys
Example:
echo ssh-rsa AAAAB3NzaC1yc2EAAAADAQABAAABAQDBmtMX3tBQCHMt8p+3zP/spcamBXLAGEGNtBt1O12FXOEAX5Xw6lCNRJdH5WsdZHPUtGmwIjWZBK3ezQgw1biI3PREMmG11sDZHd5GYwAqoswyaaZsv4vEoQIkZx32rH6vm8XgszKXxtMVkhK3LfAO6Hzot4FrMjqg2eB8pvy5Nsz0MjJmdfpXkJadxofFsxkP8l6YzOWLZFWNEvqeHzmxzl1/FEdhWrdR9i4h9K5vvBKUkmTTn1WyoCKqmKdHiNRlNOfnNMJV3e/IJGzXRmFzqFQ2ApOm5Qu8r1hZ5gV87ShKnCy1++x9VNPbX4LeY56F/Ud5cp1kaOyT4RkT37FJ kenanhancer@kenans-mbp.mynet >> ~/.ssh/authorized_keys
Check key in Remote computer if you want to see
cat ~/.ssh/authorized_keys

Login to Ubuntu Server via SSH
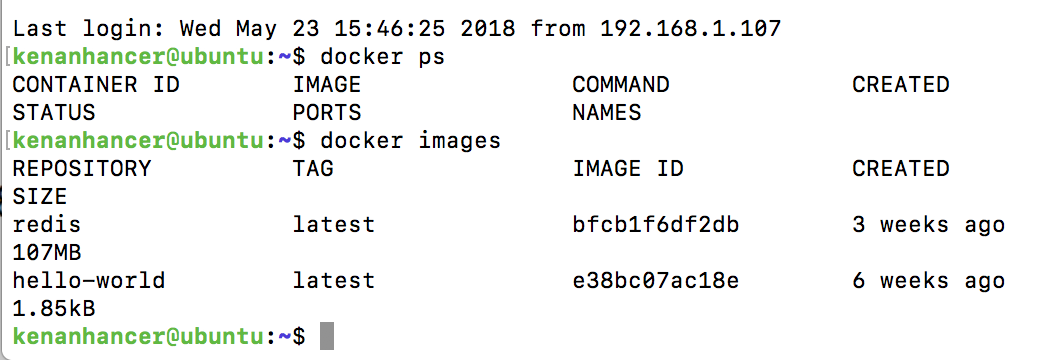
Let's check docker containers and docker images in remote Ubuntu server by running the following command from local computer