Node.js MySQL example will not start wihout running the following code in MySQL Database container. So, run the following command in terminal. If your Node.js app still doesn't connect, then try other options.
ALTER USER 'root'@'%' IDENTIFIED WITH mysql_native_password BY 'your_root_password';
ALTER USER 'root'@'localhost' IDENTIFIED WITH mysql_native_password BY 'your_root_password';
Run the following script for normal user.
ALTER USER 'foo'@'%' IDENTIFIED WITH mysql_native_password BY 'your_foo_password';
ALTER USER 'foo'@'localhost' IDENTIFIED WITH mysql_native_password BY 'your_foo_password';
Then run the following script
FLUSH PRIVILEGES;
You can find LoopBack 3 project in the following repository. After clonning switch to mysql branch 🙂 or run the following command.
I am developing APIs with Node.js and LoopBack during last one year. So, it is time to create a post about it. 🙂 I try to build a detailed project. I hope that this post will be a good reference for developers.
//If you have installed babel-cli package globally, run below code.
babel-node --presets=env --plugins=transform-runtime src
or
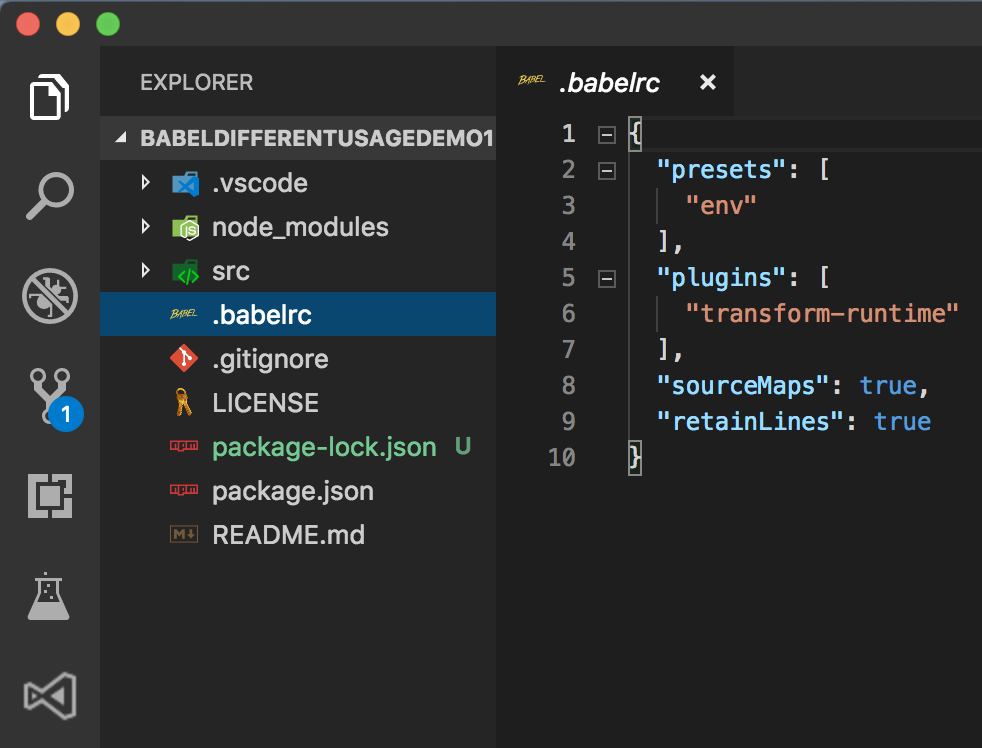
//If you have .babelrc config file, run below code without specifying inline arguments.
babel-node src
or
//If you have installed babel-cli package locally, run below code.
./node_modules/.bin/babel-node --presets=env --plugins=transform-runtime src
I hope that this post will help any developer who need to see variations of importing and exporting modules. To be honest, due to using different programming languages, I sometimes forget some features so this post helped me every time 🙂
This is an other online code editor. Same examples is in this example as well.